Saturday 30 October 2021

Mother 32 - sequencer - editing a pattern - step mode

 To edit a sequence use Step Mode

1. Press SHIFT & STEP

2. Press The RUN/STOP button to hear the sequence.

3.  as the sequencer can only display 8 steps at a time we need to use
     the top four (1-8, 9-16, etc) buttons to jump to different bars.
 
4. We can turn ON or OFF a step by pressing the key associated with that step.
     Do this while the sequencer is running.

5. To further edit each step press SHIFT and the step you want to edit.
    The step being edited will start flashing. 

 5a   You can  now add RESTs & ACCENTs using the associated
        two buttons on the left
 5b  You can also change octaves during this stage (use the arrow keys).
 5c . Changing the step length is also done here. 
        Use the tempo knob to change the length from 1 to 8
        The LEDs will indicate the length.

6. To exit hold SHIFT + the step


------------------
Also check out the 8 LEDs. These will light up when you are playing a sequence.
LED 6 indicates a ratchet. 
LED 5 indicates a glide 
LED 8 indicates a hold /rest
LED 7 indicates  an accent
-----------------------------------------------------------

Remember to SAVE your CHANGES.


1.Press SHIFT + Record (1 second ... the LED indicating the memory slots blinks yellow)

2. Press SHIFT + Record again

Wednesday 27 October 2021

Korg Wavestate 2.0 updating firmware using a windows 10 PC

 The latest korg update for the wavestate synth is incredible and well worth doing.
Being able to see a graphical representation of whats happening under the hood of the synth makes understanding wave sequencing so much easier.

Initially I had a few problems updating to 2.0
All the videos I watched used a mac. But I'm PC based.
It took a few hours to work it out, so I thought I'd write this down before I forget the details.
 
The korg download page is here:


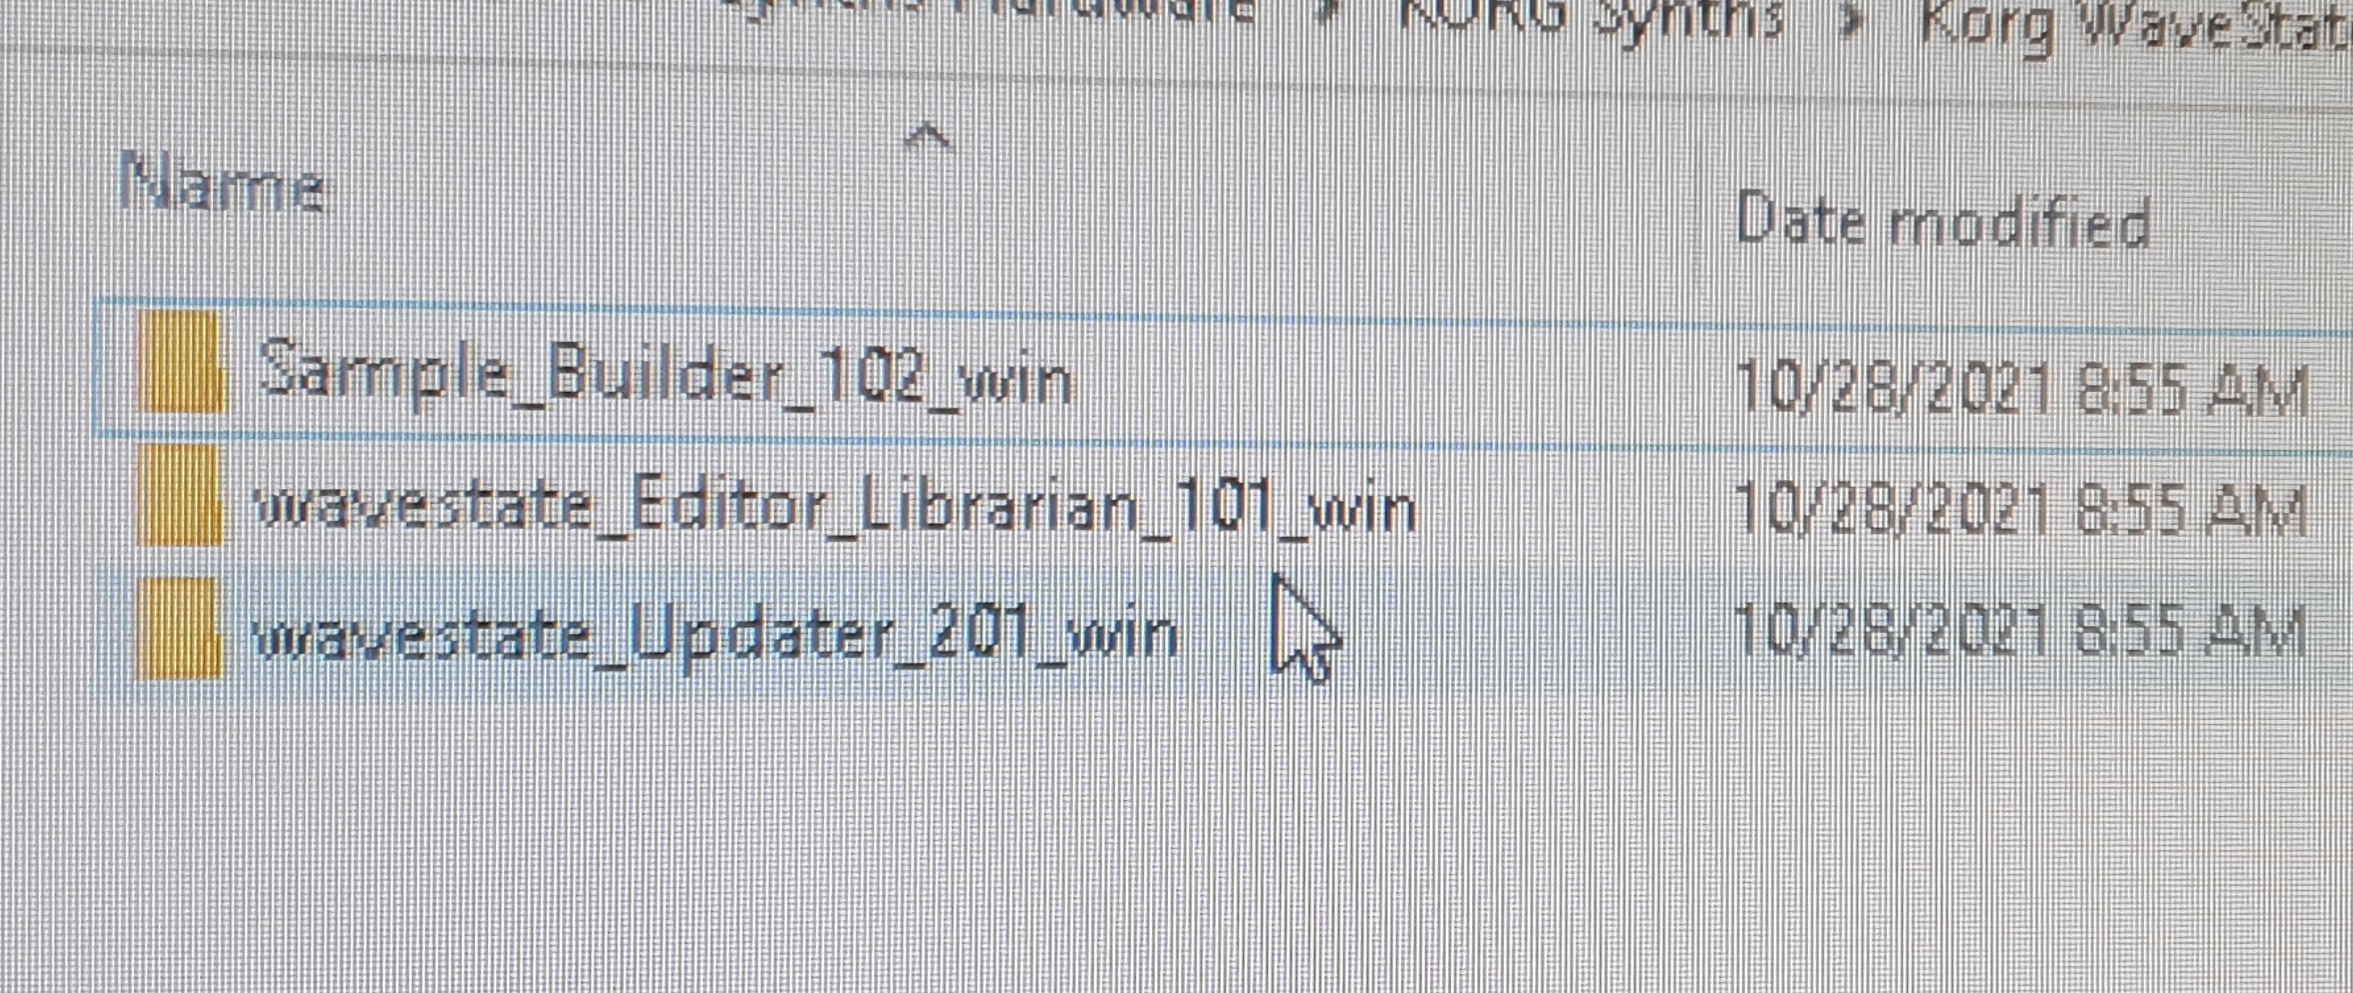
There are 3 downloads which you need:
The updater, the editor/librarian,and the sample builder.

Download all 3 but don't install the editor or librarian till you have updated the firmware of your Wavestate.

My Wavestate before the update was firmware 1.0.4.

In order to update I needed to 
A. Change the firmware to 1.0.6.
B. Swap network drivers
C. Then update the wavestate to 2.0.1
D. Swap drivers again
This was what I was initially confused about.
 
So you need to swap drivers for your PC's network adapter twice.
Once for the update to firmware 1.0.6, then again for 2.0.1
 
 
Before you do anything, find out what firmware your Wavestate is running.
Go to utilities, then press shift and the page + button.
.... scroll to the very last page.
Press UTILITY twice, and then hold SHIFT and press > (PAGE +)

On this utilities section you can see the method of  communication that your synth is currently using.
Is it just  MIDI over USB or network over USB?
Anything prior to 1.0.6 uses MIDI over USB.


If this page is named only MIDI, and the "USB Network" parameter does not appear, you will need to
 update to software 1.0.6 before proceeding

The earlier firmware talks to your computer via USB midi
The new firmware also talks via the same USB cable, but uses a network protocol.
Thats why you need to swap the drivers for your network adapter.
 
Networking uses the NCM protocol (for MacOS and Windows 10)
I needed to install the CDC NCN driver first. 
Once you have done this, you can then update to frmware1.0.6

Then the Usb Ncn driver. 
 
------------------------------
Method
 Part1
To change the drivers plug the wavestate into the computer and then go to the device manager.

RNDIS configuration: Windows 10
  1. Locate the RNDIS Driver that has a yellow triangular caution sign. It should be located under Other devices.
  2. Right-click on that driver listing & select Update Driver.
  3. Choose Browse My Computer For Drivers, then Let Me Pick From A List Of Available Drivers.
  4. Select Network Adapters from the list and click Next.
    • The list will take a moment to populate.
  5. From the list of manufacturers on the left, select Microsoft.
  6. Then, from the list of drivers on the right, select USB RNDIS adapter.
  7. Launch the wavestate Updater app.
 Part 2
 
 Update the firmware to 2.0
     Do this with the wavestate Updater app.
     connect the wavestate to your computer, launch the wavestate Updater app, then press Start
     Once the device reboots, the firmware update is complete. 
 

Part 3
NCM configuration: Windows 10
 Hopefully, your wavestate is now running firmware 2.0
Check using the Utilities menu.
NCM is only supported with wavestate software version 2.0 or later. 
If you are still running 1.0.6, you’ll need to use RNDIS for the update, and then switch to NCM after the update is complete. 

1. Plug in the USB cable from the wavestate


2. . On the wavestate, make sure that the USB Network parameter is set to NCM.
 
3. Open the Device Manager.

 
 4. Confirm that a new device named “CDC NCM” is present under the “Other devices” heading. 
 
5. Right click on the new NCM device and select “Update driver.” 


6. Click “Browse my computer for driver software.” 
7. Click “Let me pick from a list of available drivers on my computer.” 


8. If necessary, select “Network Adapter” for the device type and click “Next.” Otherwise, skip to the next step.
 9. Select “Microsoft” for the Manufacturer. 
10. Select “UsbNcm Host Device” for the Model and click “Next.” A warning may appear: “Installing this device is not recommended.” If so, press “Yes” to continue. Wait for the process to complete, and close the window when done


now that  the USB network is set up, you can run the Updater itself.
reboot.
Connect the synth via a USB cable
Run the updater app again
Press Start to begin the update.


Tuesday 26 October 2021

Abelton - recording automation

 I always forget little things in Abelton.
Recording automation into things like filter envelopes is really useful.


Just hit record & the envelop button at th top.
While its running, move anything you want automated.


Here I'm using the overdrive plugin.
Its a excellent plugin.


Wednesday 20 October 2021

Teenage Engineering PC - Computer 1- Mini-ITX

 This looks very cool.
 
 
The Mini-ITX platform is very new.
It has a very small footprint and can be perfect for BYOPC events
Not really sure if these parts will fit into the case but its a rough idea of 
the total cost of the build 
 
 
The case -                                                     $195USD 
 
CPU - AMD Ryzen 5     5600X                     $350
 
Motherboard  - ASUS ROG STRIX B550-i  $229
I think the best motherboards are gamer ones


Corsair Hydro iCUE H100i elete                     $120
This is the Liquid CPU cooler 

Western Digital WD Black SN850 -                 $379
This is the SSD - 1TB
 
CORSAIR Vengenance RGB Pro SL 32GB     $160 USD
This is your RAM
 
Power - Cooler Master V850 SFX                   $250 
Corsair

ASUS Phoenix GeForce GTX 1650 OC, 4GB        $400 USD
graphics card - graphics processing unit -  gpu
I think any graphics card with 2GB of vram should be more
 than enough for Ableton.


Sunday 17 October 2021

NLC - Primal HyperChaos - Build notes - part 1

These are my build notes for the nonlinear circuits Primal Hyperchaos module.
Its a Eurorack format.


It's a chaos module of course.

easy to build.
all common parts


You can run it at different speeds by installing different caps.
100nF to 1uF will work. 
All 4 caps should be the same value and must be voltage rated for 25V or more
fast = 100nF
medium speed = 1uF
Slow = 10uf
super slow 20uF

If you wish to blend the different caps 
in order to change speeds build the Hyperchaos Deluxe.

There are 5 CV outs and one gate output.
It needs just one input.


Charles Addams was an American artist and cartoonist known for his darkly humorous and macabre characters. He signed his cartoons under the pen name Chas Addams. 
He created the fictional family The Addams Family.


Normal is an illusion. What is normal for the spider is chaos for the fly.


More NLC words of wisdom

Primal chaos is the original reality ..... or not
 
I'm not sure where this quote originates .
 
Primal Chaos was sometimes said to be the true foundation of reality, particularly by philosophers such as Heraclitus.
 
Chaos, (Greek: “Abyss”) is discussed in early Greek cosmology 


ICs, diodes, etc
LL4148 diodes 6 Mouser 512-LL4148 
TL074 3 SOIC Tayda A-1137 
S1JL or similar 2 Mouser 821-S1JL, dot=cathode
 
  
This is the rear of the sole PCB

 
Resistors next


Caps
Using 100nf .. so should be fast.

to be continued...

Part 2 is here:

Links
+ BOM
+ Video 1 -- 1uF cap to 10uF

-----------------------------------------------------------------------------------
You can find more NLC builds here.
---------------------------------------------------------------------------------------

Wednesday 13 October 2021

Watson Beat - AI for music

  IBM has released the Watson Beat code to the public on GitHub .
This Artificial Intelligence (AI) tool is designed to compose music.
 
 
 There are two main ingredients to prepare to create your song with The Watson Beat. 
 
First, you need a midi file with a simple melody. 
 
 The second ingredient is the ini file.
You can find out more here:


Special note on running on Windows : you will also need to install cygwin as environment to run the code on. All development/testing of this code was done in *nix systems, and there is something different about the Windows shell so you need a *nix bash script emulator (which is what cygwin is).


Monday 11 October 2021

Elk Electroniks - next meeting

 NSW is opening up again.
Hopefully this time for good.

Vaccination levels are nearly 80% .... hopefully they will reach 90% and over.

Looking forward to the next synth meeting in November at Elk Elektroniks in Wollongong


See you all there.


Saturday 20th November, 2-6pm.

$10 at the door

Sunday 10 October 2021

Moog Mother 32 - sequencer - Step Mode - slides, glides, racheting , rolls, etc

For both of these features we need to use the glide control knob.
Also check out the 8 LEDs. These will light up when you are playing a sequence.
LED 6 indicates a ratchet. 
LED 5 indicates a glide
 
 
For both slides & ratchets, enter STEP mode if you are editing
an existing pattern.
Press SHIFT + STEP

------------------------------------------

Repeats, rolls, ratcheting
 These are multiple repeats that occur on specific steps.
 
1. Enter Step mode
     SHIFT + STEP
 
2. Press SHIFT + Turn the glide knob.
   The 8 LEDs will indicate the number of repeats on the step 

 ------------------------------------
 
Slides, glides, ties, slurs.
Glides allow you to tie notes together and slur between them.
this needs 3 things.
1. Starting note needs to be set to max duration 
   ie 8 LEDs

2.  the end note needs a min duration
    ie 1 LED
 
3. we now need to program the last note to be a Glide using the glide knob.
    a, turn the glide knob fully anti clockwise to let the seq know that glide is off.
    b, turn the knob clockwise till the 8 LED row shows 1 LED lit.
        This tells the seq that there is a glide on that note.
 
4. Play the sequence.
    initally, you wont hear any slides.
   Turn the glide knob during the performance to initiate slides

 
note:
steps 1 & 2 are how you program ties.
  That is, how you tie two notes together.
Step 3 is how you add a slur to the tie to make a glide.
'
--------------------------------------------------------------


Remember to SAVE your CHANGES.


1.Press SHIFT + Record (1 second ... the LED indicating the memory slots blinks yellow)

2. Press SHIFT + Record


Thursday 7 October 2021

Helvetica Scenario - NLC - Build notes - part 1

 These are my build notes for the Helvetica Scenario


Its a dual sample & hold module with a voltage controlled slew for each channel.


It contains a simple jerk chaos circuit running at approx. 300Hz to supply a signal for sampling. So, it is similar to the sample and hold section of the Buchla 265 Source of Uncertainty except it uses chaos as a source rather than white noise and a 100Hz oscillator,


To get it running, patch a signal into the clock input. Clock 2 is normalled to Clock 1 so a signal on 1 will drive both channels.


I'll use a DG 411


Resistors & Caps


 I'll build my own vactrol
If making your own vactrols, select RL to suit your LEDs, generally 4k7 is a good starting point for modern bright LEDs.

You will need a biploar LED
I've ordered some 3mm bipolar LEDs from Ebay.
Use a 4.7k for red/blue


 To be continued when the LEDs arrive.......

Links

The MPE QuNexus sequencer with modular synths

 The New firmware greatly expands of the capabilities of this keyboard

I bought my black controller nearly 10 years ago and Keith is still updating them.
The new red version has the keys labeled differently,


It's now a powerful 25-key MPE keyboard controller and three track Arpeggiator/Step Sequencer.
 Each track can control different instruments, arpeggiate, and play step patterns up to 32 steps in length.
What's MPE?
MIDI Polyphonic Expression. or Multidimensional Polyphonic Expression.
 
It was largely popularised by ROLI , the LinnStrument and the Haken Continuum

It's allows more acoustic like controls from your instruments
allowing more modulation of individual notes.

This is done by sending/receiving additional control messages along with each note. An MPE controller will transmit multiple ‘dimensions’ of expression alongside each note’s pitch 
It's not actually new as it uses tech that has existed when MIDI was first created in the 1980s.
 
 The MIDI protocol uses 16 channels.
A standard MIDI keyboard usually uses just one of these. 
A MPE controller can use all 16 on a per note basis. Each note can have its own MIDI channel
and have the equivalent of a pitch,modulation wheel & aftertouch..

The QuNexus keyboard has two dimensions (Tilt and Pressure) that can be configured to send these messages, and the MPE factory preset (Preset C) defaults to Tilt as CC74, and Pressure as Chanel Aftertouch
 
 For more info 
 
 
 Back to connecting to a synth.
These are some basic notes to get you started.
The power is supplied via the right USB connector (marked MIDI expander).
 
There are 2 CV output ports on the left side of the QuNexus and 1 CV input port on the right side.
I found one of these cables works fine.
photo*

Outputs

The two outputs are
3,5mm (1/8”) stereo plugs that you need to split to dual 3.5mm (1/8”) mono plugs
Output 1 is a Gate1/CV1
Output 2 is for CV 2 & CV3
 
The default routings for factory preset A (Basic 2.0) are:
Gate - Track 1 - Note Ons and Offs. Note Ons are expressed as 5 volts.
CV1 - Track 1 - Note Pitch
CV2 - Track 2 - Note ons and Offs. Note Ons are expressed as 5 volts.
CV3 - Track 2 - Note Pitch

Inputs

The input jack on the right is a stereo jack. 

It receives data from the 2 CV inputs and converts them to MIDI messages:
CV1 - CC#112
CV2 - CC#113
 

Sequencer

To turn on a track’s step sequencer, 
1. hold shift and press “Sequence”.
 
2.  While still holding shift, press
     “Rec” and then let go of shift.
     You are now in Step Input record mode. Each note that you play on the
      keyboard will be entered sequentially into the step pattern
 
 2a .Add/delete rests, ties
      To enter a Rest, hold Shift and press/release the “9/Rest” key.
      To enter a Tie, hold shift and press/release the “10/Tie” key
   
 3. To play the sequence
     hold Shift and press/release the “Play” key
 
 4. To stop the sequencer:
    Hold shift & press stop.
 
5. To clear the notes stored in a sequence
    hold Shift and press “Stop/Clear” for 3+ seconds.


 Overdub sequence
While a track is playing, you can overdub or  record notes into its sequence pattern.
Hold Shift and press “Rec” while the sequencer is playing.
 
You can erase notes during overdub recording by holding shift and pressing or holding “9/Rest”.
 This is a really cool way to change your sequence of the fly