Some ambient music

JonDent - Explorations in Electronics, Electronic Music, Coffee, Sci Fi, Art & Travel (but mostly electronic music)
Tuesday, 9 November 2021

Friday, 5 November 2021
NLC - Signum HyperChaos - Build Notes - part 1

These are my build notes for the nonlinear circuits eurorack module.
It's 10HP
This is an expansion of Primal Hyperchaos module
"The internal signum switch has been brought out to the panel.
It can be used as a stand-alone switch (don’t expect it to be clean and nice)
or it can be used to inject signals into the hyperchaos circuit or control the
switching of the hyperchaos.
Some actions will make the oscillations stop;
others will make them go nuts; experiment!" (NLC).
There are 5 CV outputs and one gate output.

IN1 and IN2 are the inputs for the Signum switch.
SW1 & SW2 are also inputs.
Use
SW1 if you want to control the switching of the hyperchaos with an external
signal.
SW2
is also connected to the internal switch for the hyperchaos circuit.
If you use this
input you will find that switching only occurs with an external signal.
All easy to find parts.


ICs first .. just 074 opamps
S1JL or similar 2 Mouser 821-S1JL, dot=cathode
LL4148 diodes 6 Mouser 512-LL4148
Resistors next

There are 4 impt CAPS that you will need to pick
You can run the module at different speeds by installing these different caps.
100nF to 10uF will work.
All 4 caps should be the same value and must be voltage rated for 25V or more
fast = 100nF
medium speed = 1uF
Slow = 10uf

If using 10uF, you may want to increase the value of the 470k resistor to
prevent the output signals hitting the rails, not a big deal if you don’t,
just turn the Climax pot low to reduce the peaks
I'm going to use 1uF for now.

Jacks.

B1M linear taper pot x2
B100K Linear taper pot
I'm waiting on some pots.
To be continued...................
Part 2 is here:
Links
+ Wiki
+ BOM
+ NLC Blog
Tuesday, 2 November 2021
Moog Mother 32 - set up mode - pre version 2.0
This is the setup for firmware versions before April 2020
The new firmware is 2.0
So this page is for the original firmware.
Set up mode allows you to program things like
1. Assignable output, LFOs, Midi to CV, Clocks, dividers,
2. midi channel
3. Tempo input modes
You can enter setup mode by holding these 4 buttons:
shift + reset + set end + step8. (in this order)
The LED above the shift button will start flashing yellow.
There are 3 pages.
Use the left/right buttons to navigate to each page.
page 1. Assignable output
page 2. midi channel
page 3. Tempo input modes
You can exit setup mode by holding these 4 buttons:
reset + shift + set end + step8.
(Push the 4 buttons in this order so you don't accidently set the parameter to 8)
----------------------------------------------------
Page 1. Assignable output
This is the biggest page.
There are 16 different parameters in this page.
Step buttons 1-8 select function values 1-8
Shift + step buttons 1-8 will select values 9-16
The value is indicated by green Octave/Location LEDs. Summary of ASSIGNABLE OUTPUT MODES
1: Accent (Default)
2: Sequencer Clock
3: Sequencer Clock / 2
4: Sequencer Clock / 4
5: Sequencer Step Ramp
6: Sequencer Step Saw
7: Sequencer Step Triangle
8: Sequencer Step Random
9: Sequencer Step 1 Trigger Output
10: MIDI Velocity
11: MIDI Channel Pressure
12: MIDI Pitch Bend
13: MIDI CC 1
14: MIDI CC 2
15: MIDI CC 4
16: MIDI CC 7Function 1-4 send out trigger pulses from the assignable output jack.
These are linked to the sequencer clock in various divisions.
Function 5 & 6 output one slow ramp or saw wave over the course of
one sequences.
Function 7 outputs one slow triangle wave over the course of 2 sequences.
Use these for example when opening up a filter slowly over one or 2 sequences.
It's kind of like a tempo synced LFO..
Patch the assignable out to VCF cutoff in.
Function 8.
Its really impt in self generative patches - use random output
on each step.
Function 9.
sends a 5V pulse out of the assig output on step 1
Function 10.
This converts the velocity MIDI information (coming into the M32 via the DIN jack
into control voltages (which come out of the assig out jack)
Function 11
This converts the aftertouch MIDI information (coming into the M32 via the DIN jack
into control voltages (which come out of the assig out jack)
Function 12
This converts the pitchbend MIDI information (coming into the M32 via the DIN jack
into control voltages (which come out of the assig out jack)
Function 13
This converts any MIDI information on CC channel 1 (coming into the M32 via the DIN jack
into control voltages (which come out of the assig out jack)
Useful if you are using a DAW.
Function 14
This converts any MIDI information on CC channel 2 (coming into the M32 via the DIN jack
into control voltages (which come out of the assig out jack)
Function 15
This converts any MIDI information on CC channel 4 (coming into the M32 via the DIN jack
into control voltages (which come out of the assig out jack)
This converts any MIDI information on CC channel 7 (coming into the M32 via the DIN jack
into control voltages (which come out of the assig out jack)
Page 2. midi channel
After selecting Page 2,
press Step buttons 1-8 for MIDI Channels 1-8,
and (SHIFT)+Step buttons 1-8
for MIDI Channels 9-16
Page 3. Tempo input modes
After selecting Page 3,
press Step buttons 1-3 to select the desired Tempo input behavior.
1: CV INPUT MODE
2: SINGLE CLOCK ADVANCE MODE
3: DIN SYNC MODE
Monday, 1 November 2021
Sefrou - Morocco
Sefrou is a city in central Morocco situated in the Fès-Meknès region.

It's a Berber town. Situated in the middle Atlas region .
It's about 30km south of FEZ
The Oued Aggaï River runs through the city.
Its a great place to see a real local market.

Sefrou is known for its historical Jewish population, and its annual cherry festival.
The Jewish population dates from he 8th and 9th centuries.
Most came from Algeria.

This is part of the old Medina .. old city


(Qal'a).


Saturday, 30 October 2021
Mother 32 - sequencer - editing a pattern - step mode
To edit a sequence use Step Mode
1. Press SHIFT & STEP
2. Press The RUN/STOP button to hear the sequence.
3. as the sequencer can only display 8 steps at a time we need to use
the top four (1-8, 9-16, etc) buttons to jump to different bars.
4. We can turn ON or OFF a step by pressing the key associated with that step.
Do this while the sequencer is running.
5. To further edit each step press SHIFT and the step you want to edit.
The step being edited will start flashing.
5a You can now add RESTs & ACCENTs using the associated
two buttons on the left
5b You can also change octaves during this stage (use the arrow keys).
5c . Changing the step length is also done here.
Use the tempo knob to change the length from 1 to 8
The LEDs will indicate the length.
6. To exit hold SHIFT + the step
------------------
Also check out the 8 LEDs. These will light up when you are playing a sequence.
LED 6 indicates a ratchet.
LED 5 indicates a glide LED 8 indicates a hold /rest
LED 7 indicates an accent
-----------------------------------------------------------
Remember to SAVE your CHANGES.
1.Press SHIFT + Record (1 second ... the LED indicating the memory slots blinks yellow)
2. Press SHIFT + Record again
Wednesday, 27 October 2021
Korg Wavestate 2.0 updating firmware using a windows 10 PC
The latest korg update for the wavestate synth is incredible and well worth doing.
Being able to see a graphical representation of whats happening under the hood of the synth makes understanding wave sequencing so much easier.
Initially I had a few problems updating to 2.0
All the videos I watched used a mac. But I'm PC based.
It took a few hours to work it out, so I thought I'd write this down before I forget the details.
The korg download page is here:
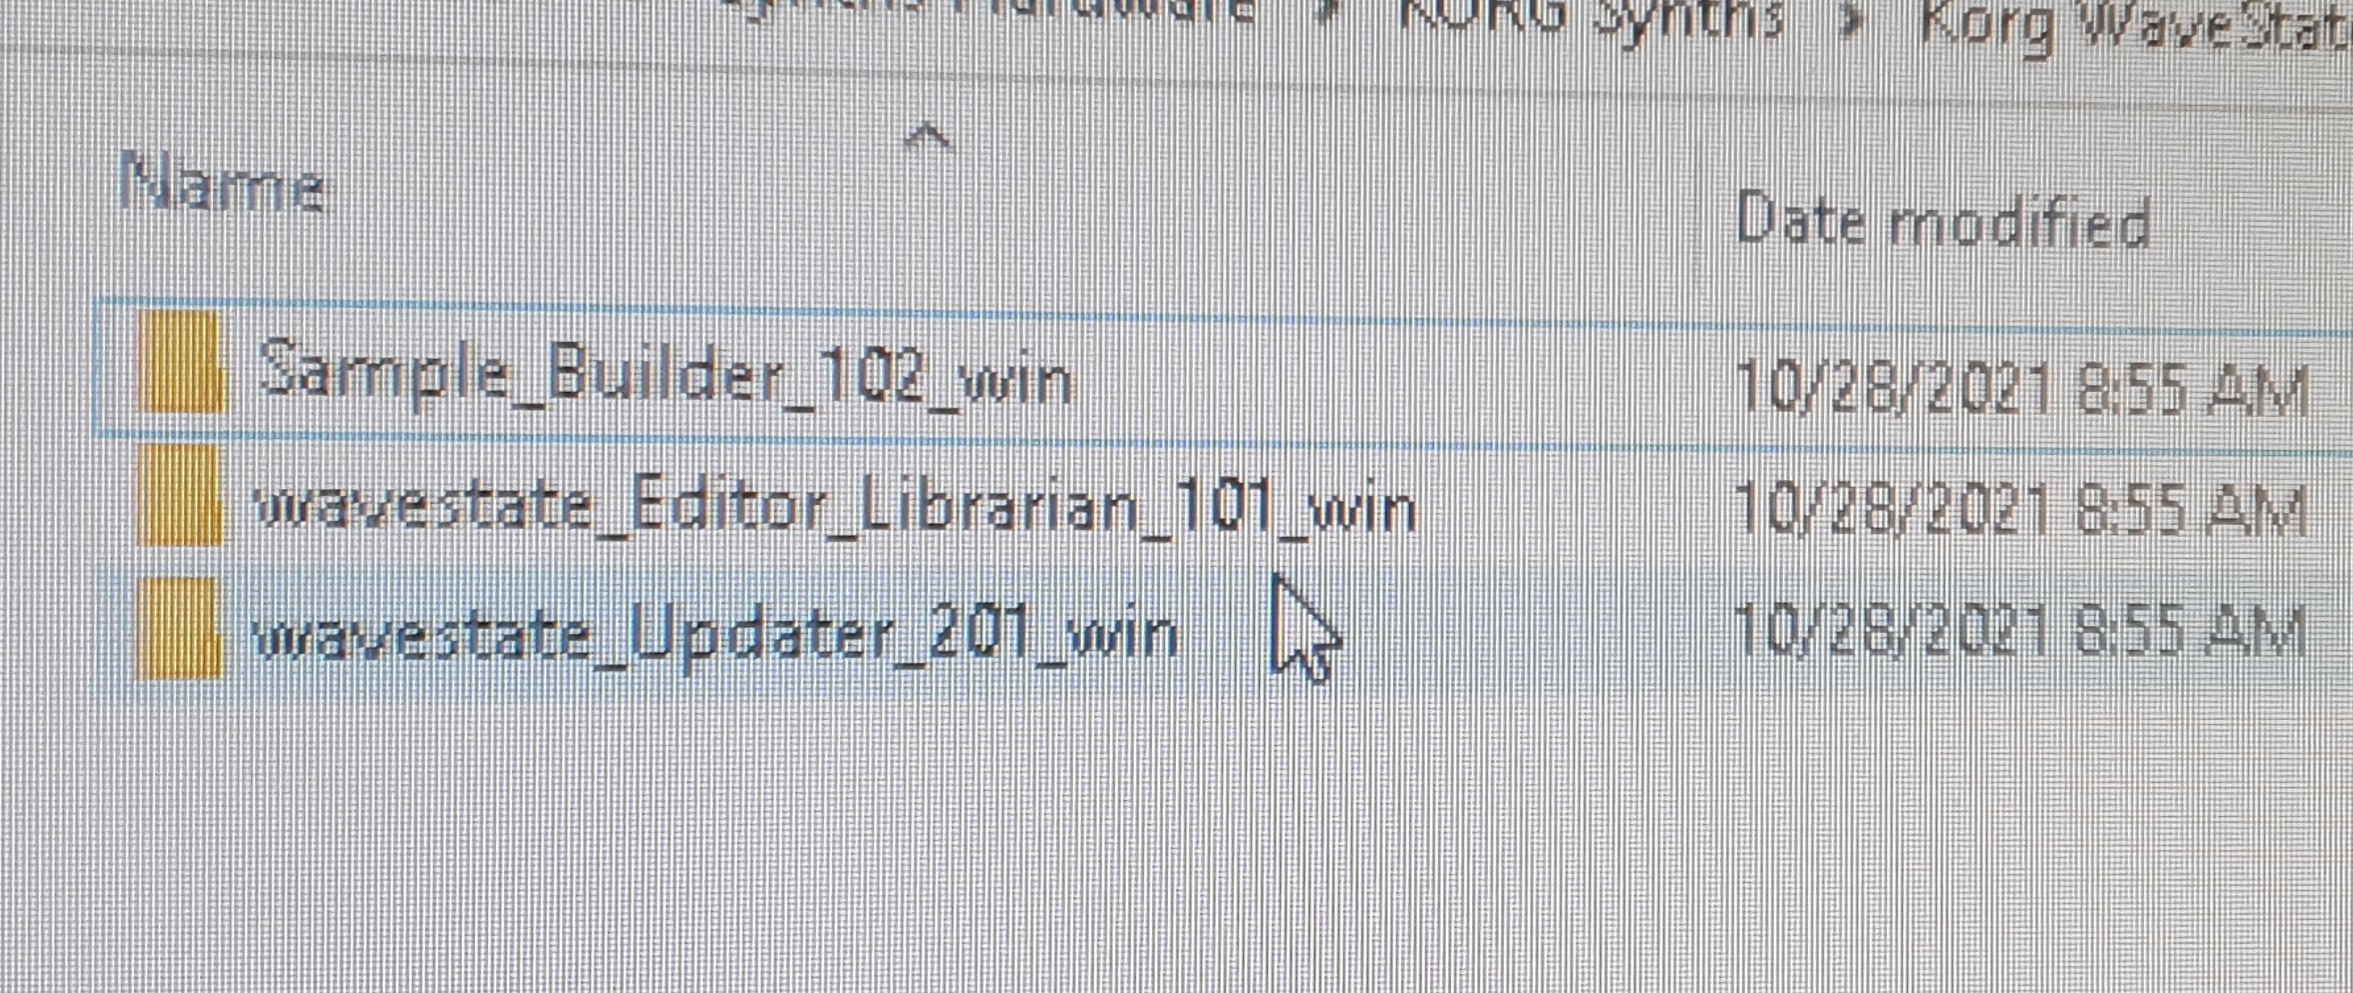
There are 3 downloads which you need:
The updater, the editor/librarian,and the sample builder.
Download all 3 but don't install the editor or librarian till you have updated the firmware of your Wavestate.
My Wavestate before the update was firmware 1.0.4.
In order to update I needed to
A. Change the firmware to 1.0.6.
B. Swap network drivers
C. Then update the wavestate to 2.0.1
D. Swap drivers again
This was what I was initially confused about.
So you need to swap drivers for your PC's network adapter twice.
Once for the update to firmware 1.0.6, then again for 2.0.1

Before you do anything, find out what firmware your Wavestate is running.
Go to utilities, then press shift and the page + button.
.... scroll to the very last page.
Press UTILITY twice, and then hold SHIFT and press > (PAGE +)
On this utilities section you can see the method of communication that your synth is currently using.
Is it just MIDI over USB or network over USB?
Anything prior to 1.0.6 uses MIDI over USB.

If this page is named only MIDI, and the "USB Network" parameter does not appear, you will need to
update to software 1.0.6
before proceeding
The earlier firmware talks to your computer via USB midi
The new firmware also talks via the same USB cable, but uses a network protocol.
Thats why you need to swap the drivers for your network adapter.
Networking uses the NCM protocol (for MacOS and Windows 10)
I needed to install the CDC NCN driver first.
Once you have done this, you can then update to frmware1.0.6
Then the Usb Ncn driver.
------------------------------
Method
Part1
To change the drivers plug the wavestate into the computer and then go to the device manager.
RNDIS configuration: Windows 10
- Locate the RNDIS Driver that has a yellow triangular caution sign. It should be located under Other devices.
- Right-click on that driver listing & select Update Driver.
- Choose Browse My Computer For Drivers, then Let Me Pick From A List Of Available Drivers.
- Select Network Adapters from the list and click Next.
- The list will take a moment to populate.
- From the list of manufacturers on the left, select Microsoft.
- Then, from the list of drivers on the right, select USB RNDIS adapter.
- Launch the wavestate Updater app.
Part 2
Update the firmware to 2.0
Do this with the wavestate Updater app.
connect the wavestate to your computer, launch the wavestate Updater app, then press Start.
Once the device reboots, the firmware update is complete.

Part 3
NCM configuration: Windows 10
Hopefully, your wavestate is now running firmware 2.0
Check using the Utilities menu.
NCM is only supported with wavestate software version 2.0 or later.
If you are still
running 1.0.6, you’ll need to use RNDIS for the update, and then switch to NCM after the update is complete.
1. Plug in the USB cable from the wavestate

2. . On the wavestate, make sure that the USB Network parameter is set to NCM.
3. Open the Device Manager.
4. Confirm that a new device named “CDC NCM” is present under the “Other devices” heading.
5. Right click on the new NCM device and select “Update driver.”

6. Click “Browse my computer for driver software.”
7. Click “Let me pick from a list of available drivers on my computer.”

8. If necessary, select “Network Adapter” for the device type and click “Next.” Otherwise, skip to the next step.
9. Select “Microsoft” for the Manufacturer.
10. Select “UsbNcm Host Device” for the Model and click “Next.”
A warning may appear: “Installing this device is not recommended.” If so, press “Yes” to continue.
Wait for the process to complete, and close the window when done


now that the USB network is set up, you can run the Updater itself.
reboot.
Connect the synth via a USB cable
Run the updater app again
Press Start to begin the update.


Subscribe to:
Posts (Atom)